Today, we meet Dani and her husband, Josh–he’s a software test engineer, she’s a social media specialist who also runs a blog and an Etsy shop. When they aren’t nerding out over the latest technology, they’re probably playing with their wire-haired Jack Russell Terrier or training him to pick up their laundry.
 Hi, SmartThings fans! It’s an honor to contribute a little something to the SmartThings blog. We have had a lot of fun automating our home over the past year. We have played around with simple projects that took mere minutes to set up, and a few complex projects using an Arduino board and the SmartThings Arduino shield. Below are the three projects that have had the biggest impact on our daily lives:
1. Automating the lamps in our bedroom. Complexity level: easy
 If you own a king-sized bed, then you already know that you often find yourself in the middle of it, and sometimes a couple feet away from your nightstand or lamp. But it’s probably rare that your cellphone isn’t within arm’s reach. That’s why we automated our bedroom lamps so that we can turn them on and off by tapping a button on our smartphone.
This seemed like a frivolous luxury at the time, but we find it really convenient. Having lamps connected to SmartThings is also beneficial for setting up timers or turning lights on remotely when you’re away. This project can be enhanced to use an unused button on a TV remote to control the lights using an Arduino board and a ThingShield.
Editor’s note: Want to automate your lamps? Easy. Once you have the SmartThings Hub, you have a few options: For those with little or no technical know-how, you can either plug in your lamp to a SmartPower Outlet (like this), or you can screw in a smart light bulb (like a Philips hue) like this. Then, you’ll be able to control it from anywhere, like this.
For those who are a bit more technically inclined, once you have the SmartThings Hub, you can install some in-wall dimmers or switches. The best and most affordable way to get started is to purchase a solution pack.
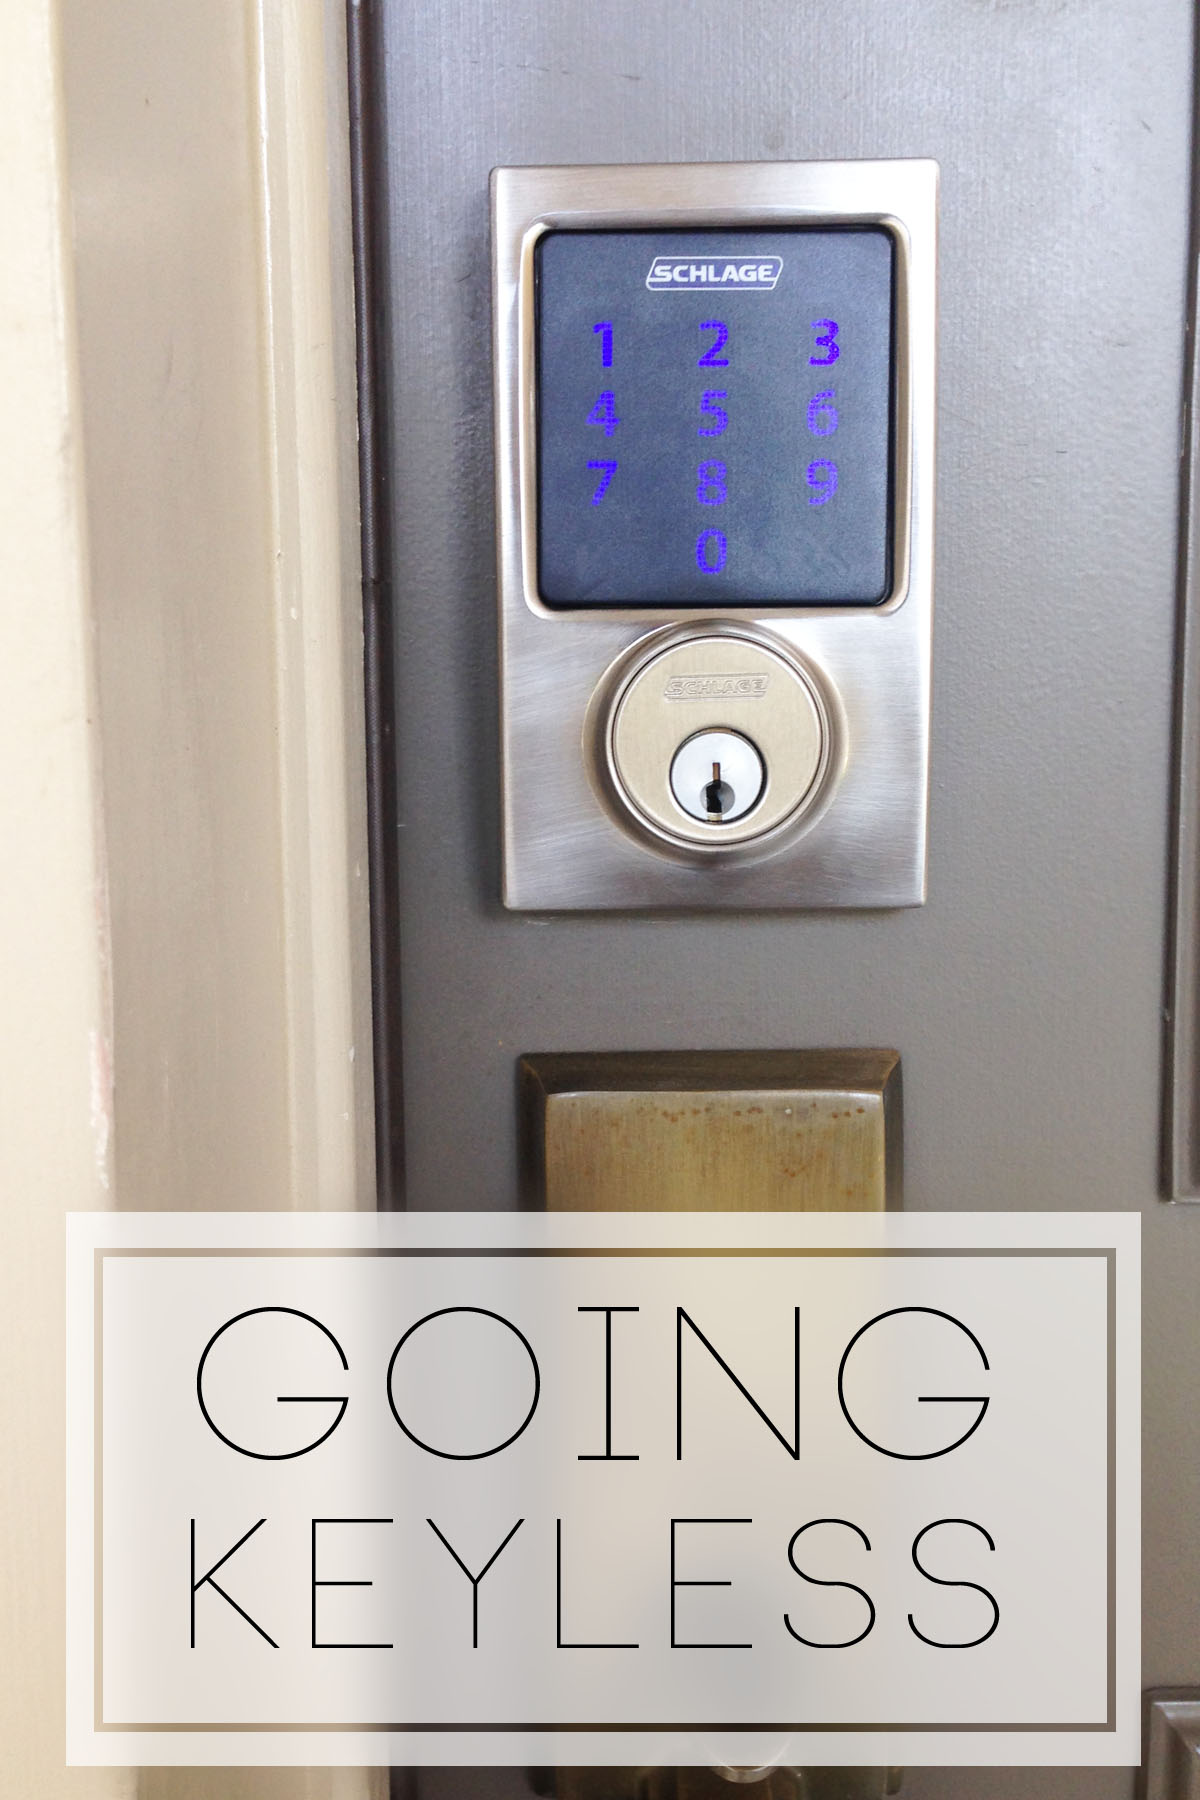
2. Going keyless with a smart lock. Complexity level: easy
After purchasing our 2014 Mazda 3, we realized that our house was the only thing stopping us from being keyless. SmartThings helped us take care of that. We upgraded the lock on our front door to the Schlage Century Deadbolt and can now access our house with a 4-digit code, or by unlocking the door from the SmartThings app on our phones. This is another simple upgrade that has become really handy.
 Here are 5 reasons to upgrade to a smart lock:
1. Unlock the door remotely using the SmartThings app for deliveries or guests.
2. There’s no need to carry a key when you go for a jog, simply enter the code when you get home!
3. Never worry about getting locked out and having to call a locksmith to regain entry.
4. Never wonder whether or not you locked the door–just check the app to ensure everything is shut & locked.
5. Get notifications when the door is opened, closed, or has been left unlocked.
Ed. note: Triggering your door to automatically unlock when you approach kind of makes you feel like a superhero. To set this up, you’ll need a SmartThings Hub and a smart lock. Then, since all smartphones have GPS sensing built in to them, all you need to do is to use the free SmartThings app to select your home location, and then follow the simple prompts in the “Actions” area of SmartSetup to trigger your door to automatically unlock when you approach this home location, and then to lock when you leave.
3. Monitoring our garage door with the SmartSense Multi sensor. Complexity level: moderate
 Have you ever slept all night only to wake in the morning and realize the garage door was wide open? It’s surprisingly easy to do and puts the security of your home and your belongings at risk. By installing the SmartSense Multi sensor on the inside of our garage door, we can rest easy knowing that it is shut, and can be notified on our smartphones if it opens, closes, or has been open for more than 15 minutes.
Ed. note: A significant percentage of home break-ins occur through the garage door, so being able to monitor it is a great way to gain peace of mind. To do so, you’ll need a SmartThings Hub and a SmartSense Multi sensor. The Multi sensor can measure the angle of your garage door, so by placing it on the inside of your garage door, and then following the easy prompts in the free SmartThings app under Access & Entryways in SmartSetup, you’ll be able to receive a notification on your smartphone whenever your garage door has been opened (or left open) unexpectedly.
Thanks for reading, and be sure to check out Dani and Josh on Twitter at @Thyme_is_Honey and @NerdMr


